
 The framers had just completed framing our house in town and the sheet-rock installers were coming the next week.
BUT...
We had stopped at a consignment store on our way home from work that weekend & found three vintage leaded-glass windows. Long and narrow.
It took Bryce about an hour to figure out, that one of them would be perfect as a transom over the entry to the new dining room.
We went over first thing Saturday morning to tear out the solid wall framing above the doorway and to re-frame the area for the new, (old) fabulous window. We were just about finished when we heard a man's voice saying," who is tearing up my framework?!"
It was our contractor and we had been caught making unauthorized changes to the house. LUCKILY, the contractor was our father-in-law!
He wasn't pleased , but after inspecting the work he agreed that Bryce had done a great job & that structurally it was sound.
He didn't understand the old vintage window transom idea, but he was used to what he called our "hair-brained" ideas.

The old window was a great addition to the dining room entry and we were never sorry that we had "snuck" it in.

We still have 2 of the original 3 windows that we bought and every once in a while we look at them to see if another idea POPS for them.
Not yet, but some day soon.

We wanted hardwood floors for a good portion of the house. But we also wanted them to look 100 years old.
One day while driving around looking at other peoples homes, (yes, we are look-i-loos) we saw a new home that had timber-frame construction. We were drooling over the beautiful old beams when the contractor drove up. (yes, contractors always seem to catch us). We told him how much we loved the old wood and asked where it was from. He was nice enough to refer us to his framers & after a call to them we were referred to their source,
Marc at Crossroads Lumber.
One call to Marc and we knew we had hit the mother-lode of vintage lumber. Marc told us about all of their products, especially their re-milled 100 year old Douglas Fir floors. They were tongue and groove and came in 10 to 12 inch widths. PERFECT!
We chose cabin grade that had lots of knot holes and nail markings for that old distressed look and decided we would lay them in our entry, dining room, kitchen, pantry, mudroom, laundry room and pool bath. Early one Saturday morning we drove the 2 hours to Northfork, Ca. in a borrowed pick-up truck. We met Marc, (who is unbelievably nice) & took a tour of his grounds. The lumber was gorgeous and he told us lots of stories about where it had been & what it had been in its previous life. A lot of the wood was pre-sold and he told us about the various projects. We were so delighted that some of it was going with us. We proceeded to load our truck to the gills with our wonderful old wood floors & drove home, very slowly and carefully.
We installed it straight over concrete floors with construction-grade glue, sanded and re-sanded it, then stained it with Watco Danish Oil Finish in medium walnut.

There is a great bakery in our town, Olde Tyme Pastries, that has stained concrete floors. We wanted to replicate them in our great room. We found several contractors locally who were doing them but they were way out of our budget. I made a lot of phone calls and finally found Sunrise Rock and Gravel company nearby that carried the acid stain. We read up on the how-to's and determined that this was something we could do ourselves.

Armed with garden sprayers, we sprayed the bare concrete floors (after allowing them to cure for 30 days from the date of pour) with concrete chemical stain by Brickform
We mainly used the caramel color but also over-sprayed some areas with Mahogany. It gave a wonderful mottled look to the color. After it dried we swept it with baking soda and then washed it all clean.

The floors turned out just as we had hoped. We sealed them with a semi-gloss finish and then buffed them with our
SECRET WEAPON!

Sorry this picture is so grainy, when I took it I never thought I would be blogging it!
This picture is of our great room in the foreground with stained concrete floors and the step up is to our entry with the 100 year old hardwood floors.
We were thrilled with the results!
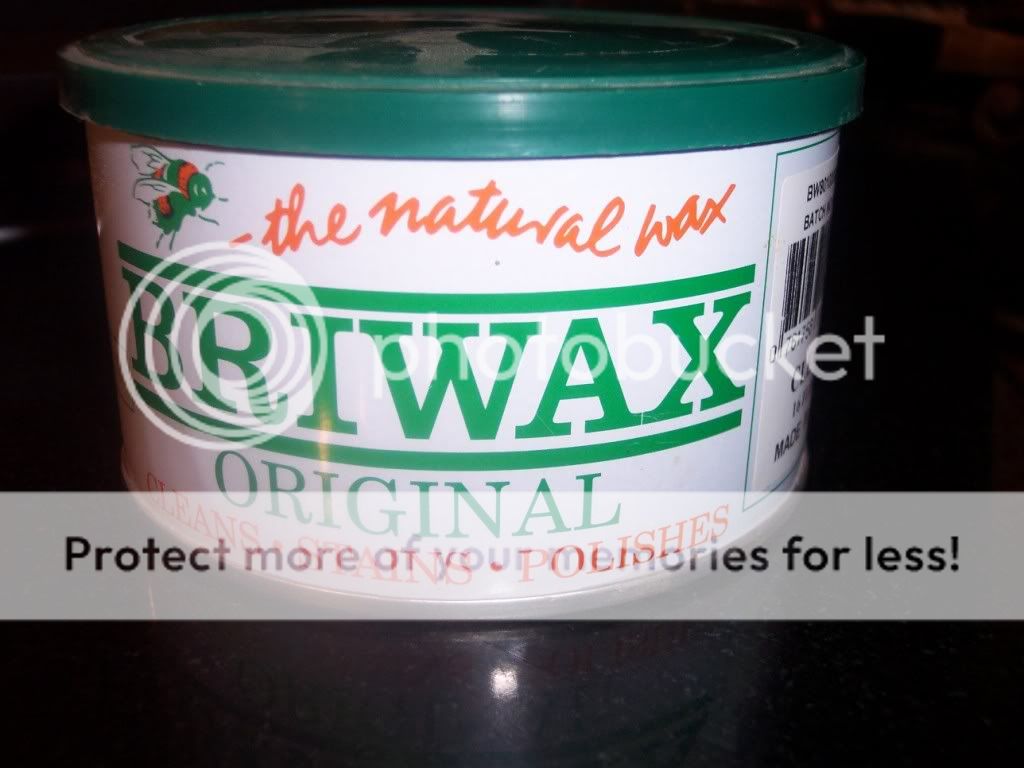
This is our SECRET WEAPON!
Brywax is the magical elixer of all things wood and as it turns out, concrete. After staining our wood floors we rented an industrial buffer from
Modesto Janitorial Supply. We applied Brywax to the floors with a soft cloth and let it sit until it was dry. Then we buffed the floors to a silky finish with the industrial buffer. After finishing the wood floors, we wondered out loud what the excess Brywax on the buffing pad would do to our stained concrete floors. The sealer had given it a nice sheen, but we wanted a little more depth to the finish So, we started in an area that our sofa would cover, in case we hated it. Far from hating it, we loved the luster that the little bit of Brywax had given to our concrete floors as well.
We had so many compliments and we loved to tell the sagas of our vintage window transom and how we found and accomplished our funky floors.


4 comments:
ilike your blog
I love the "House Adventures of Bryce and Debbie".
Excuse me I have to run and get a bib I am drooling so badly right now over your wood floors... beautiful job guys... absolutely to die for... I just found your blog and I am so happy I did.
I can't wait to investigate further.
Hugs Deb
top [url=http://www.001casino.com/]casino bonus[/url] brake the latest [url=http://www.casinolasvegass.com/]las vegas casino[/url] unshackled no consign hand-out at the leading [url=http://www.baywatchcasino.com/]online casino
[/url].
Post a Comment